Wednesday, January 11, 2012

Chewy Granola Bars

Good grief...with the holidays and sickness (and possibly some laziness), I have left this poor blog all by his (her?) lonesome. I'm sorry, Blog.

Over the holidays, my husband watched Bag It, a documentary about plastics. He now has a new passion for eliminating plastic from our life. I already try to limit it, using my own shopping bags, keeping plastic out of the microwave, etc. We don't have a lot in our house, but we do have some. No more. I am tasked with finding replacements. Works for me. It's healthier and more environmentally friendly. The thing is, eliminating it altogether is darn near impossible. Still, I like to see the silver lining. Instead of buying meat at the grocery store, I know have justification for the more-expensive-but-tastier butcher. Yay!

Anyway, the point is that I am really trying to make more things myself. I like to do it anyway, but sometimes I get lazy. This has motivated  me to be better about homemade, more homemade. Ironically, even making things at home to skip the plastic (and additives), it still involves plastic. Anyone ever seen a glass food processor? Let me know.

Over the next few weeks, I want to share my go-to recipes for some of our favorite staples. The first one is a must-have around here - granola bars. The hub originally pulled this recipe out of a Family Fun magazine. Original form isn't bad, but it could be improved upon. Who better to do that than moi?

Chewy Granola Bars

1 cup brown rice syrup
1/2 cup brown sugar
1 1/2 cups nut butter (peanut, almond, cashew, soy, etc)
1 cup dry milk powder
1 Tbsp vanilla extract
1/2 tsp cinnamon
3 cups granola (or any combo of chopped dried fruit, chopped nuts, crispy rice cereal, etc - just get 3 cups dried goods)

Line a 9x13 pan with parchment, and set it aside.

Over medium heat, stir the brown rice syrup and brown sugar together. Stir until the sugar is dissolved. Simmer for about 30-60 seconds.


Remove from heat and stir in the nut butter, milk powder, and extract. Stir until the nut butter is melted and everything is incorporated well.


In a separate bowl, stir your granola and cinnamon together.


Add the granola to the nut butter mixture. Really get in there and combine this well. You need even distribution for even bars.


Pour the mixture into the prepared pan. Spread it evenly in the pan. I find it easiest to use my hand, but you can use a spoon, spatula, whatever strikes your fancy.


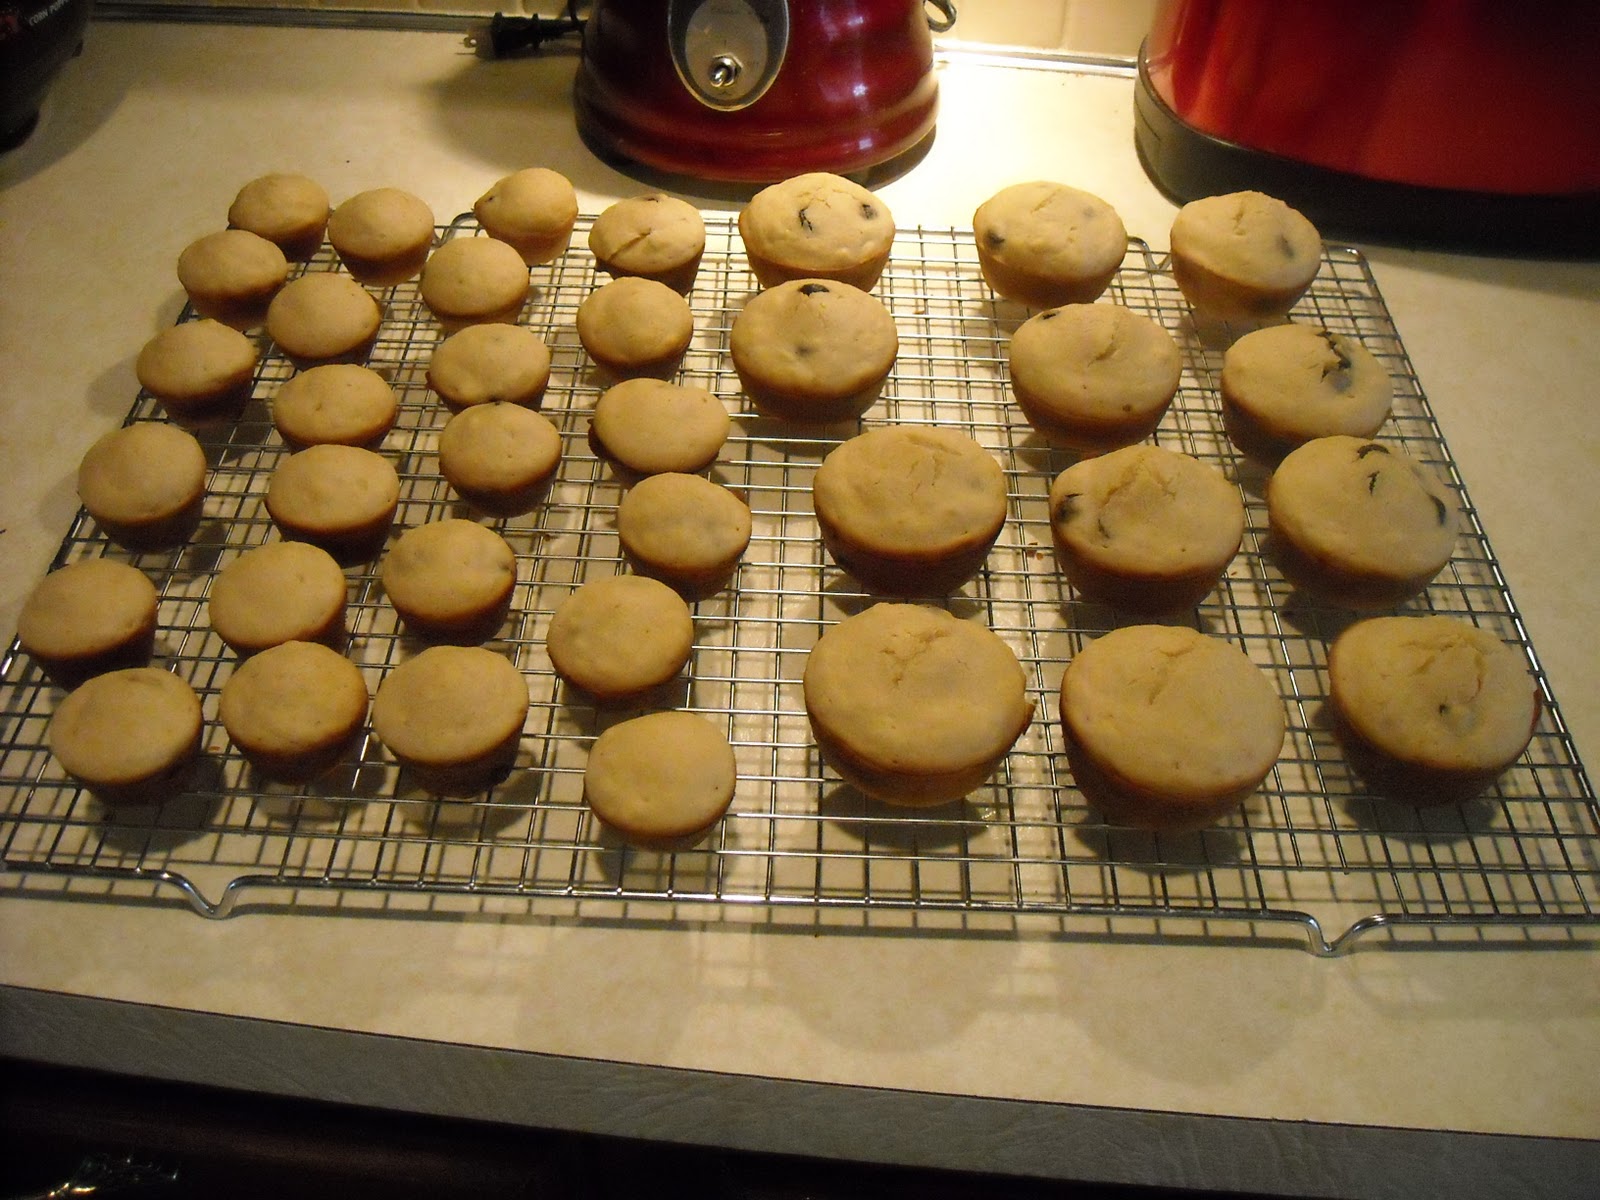
Perhaps you are like me and look for any excuse to add chocolate. If so, now is a good time to sprinkle some chips on top of your flattened bars. This batch has mini semi-sweet chocolate chips. Lightly press them into the bars. Set aside, cooling completely before cutting.


Not sure what happened to my fancy finished, cut product picture, but it's gone. I am too lazy to take another and upload it. I am pretty sure you get the idea. At any rate, keep these in an airtight container in the fridge. They are great snacks for 3 year olds, dads, moms. They taste especially yummy with a morning coffee or tea...or afternoon cocoa...or chocolate milk...or before bed...or in the car...on a walk...

Enjoy!

Sunday, December 18, 2011

PBCC Breakfast Muffins

Einstein and Beethoven can step aside...the greatest creator was he (or she) who combined peanut butter and chocolate. Had these two entities, each glorious in their own right, not been brought together, we can be sure that the world would have crumbled, descended into utter chaos. We are forever grateful to you, oh combiner of peanut butter and chocolate, for making the world a sweeter place.

Today, I bring you a peanut butter chocolate chip breakfast muffin recipe. It is a slight adaptation of Weelicious's Breakfast Cupcakes. I took a delish and healthy recipe and made it something I could enjoy any time of day (or night). The recipe is great in original form, but I wanted something without "frosting". I found that the cupcake alone was a little bland. What to do, what to do...Chocolate Chips to the rescue! Actually, I didn't have to think at all. The first time I read over this little puppy, I wanted to add chocolate chips. Without the "frosting", I had my excuse.

So here is my version. I actually doubled the recipe for the photos. I was making an extra batch to share. The recipe below is for one batch, 12 regular sized muffins or 24 minis.

PBCC Breakfast Muffins
1 1/4 cup all purpose flour
2 tsp baking powder
1/2 tsp salt
1/2 cup chocolate chips
1/4 cup peanut butter (or sub another creamy nut butter of your choice)
1 egg
2 Tbsp sugar
1 1/4 cup milk (I used 1% cow's, but you can sub)

Preheat your oven to 350 degrees.

In a large bowl, mix together your dry ingredients...flour, baking powder, salt, and chocolate chips.


In a separate bowl, whisk the peanut butter, egg, and sugar until well combined. It will be wonky at first, but keep at it. They will emulsify. (Ignore the cinnamon and vanilla in the picture below. I was whipping up a whole slew of peanut butter based treats this morning, so they were for something else.)


Once that is well combined, whisk the milk into the peanut butter mixture. Make sure to scrape the sides of your bowl. You want all that peanut buttery goodness in your muffins. Plus, it's less to wash off the side of the bowl later.


Once your milk has been well incorporated, you will add the wet to the dry. There is a lot of debate over the wet-to-dry or dry-to-wet order. The general consensus seems to be that wet into dry causes less clumping. I don't know, I get them either way. Anyway, mix everything up, but don't over mix. This is a pancake batter based muffin, so it doesn't need to be perfectly smooth.


Now since I was making two batches, I made one regular sized muffins and one minis. No matter what size you are using, you will want to spray your muffin tins well. Typically, recipes tell you to fill the cups 2/3 full. HA! Fill them 3/4, or even slightly more, and you will get better muffin tops...on the muffin intself and on your pants from eating a bigger muffin! Ba-da-bum-ching!


Set your timer for 20 minutes. Both sizes took the same amount of time to cook although it's not a bad idea to keep an eye on things. I've made these a bunch of times, and they never really get golden on top. They shouldn't be shiny or wet looking, and you can always stick a toothpick in the middle to check for doneness.


After you remove them from the oven, let them cool in their pan for a few minutes, until you can handle them. Remove them from the tin, and cool on a wire rack.


These will keep several days in an airtight container, or you can individually wrap them to get a little extra time. Seriously though, between my love of pbcc, my husband's insane metabolism, and a picky-ish 3 year old, these never last more than a couple of days in my house. Enjoy!


Tuesday, December 13, 2011

Removing Labels from Glass Jars

I keep an eye out on Craigslist for mason jars, but they get snatched up before I can get to them. Since I'm not going to spend money on new ones, I have started hanging on to our empty food jars. I don't use all of them. Sometimes I don't care for the size/shape, or I am too lazy to really scrub the food bits off. I had amassed a few, so I decided it was time to actually do something with them.

I started with a variety of jars, some honey, brown rice syrup, jelly, salsa, even an empty extract bottle.


I tried two different methods for stripping the labels. One was boiling, soapy water. The other, straight vinegar in a bucket. I had heard of vinegar, and the soapy water one came from Mochatini via Pinterest. I tried a couple of different tools to scrape the labels off, but ultimately decided on a small putty knife. It worked best for both methods.

The vinegar was not my favorite method. It takes a good amount to immerse the entire label. It is wasteful, smelly, and not that successful. Plus, it takes a lot longer. I had to let it sit for several hours before I could scrape the labels off. It also seemed to work better on one label than the other. The small, brown bottle below scraped right off. The other bottle left residue behind. I  had to use a little more elbow grease to scrape it and some Goo Gone.


The boiling water went much faster, and I got better results. I recommend this method. Fill a large pot with water and a drop of soap. Let it come to a rolling boil. Gently add your glass. Wait...I know how hard it is. Trust me though, jumping the gun will only frustrate you. So wait. Once the labels start to just float off on their own, you can get to work. They should come right off with almost no effort. Just remember you are working with boiling water, so everything is H-O-T HOT! If you do happen to have any residue left, a little Goo Gone does the trick.


One more thing, don't remove the labels before hand. I know it is tempting to strip things down in the hopes of a faster result or easier effort. Sadly, it doesn't work out that way. I had peeled the label off of one jar (the first pic below). It came out of the pot about like it went in. It took a lot of scraping and Goo Gone to get all the gunk off. On the other hand, all of the jars that went in with the full label intact practically cleaned themselves (the second pic below). Like I said, the labels start to float right off on their own.


 Have fun making lots of fun things from your shiny new craft bottles! They make cute vases, storage jars for other foods or crafts, gift jars, the list is endless!

Saturday, December 3, 2011

Smashed Sweet Potatoes and Beans

Toddlers are notoriously picky, flip-floppers. One day apples are their favorite food, two days later, they hate apples with such passion. Sure, each kid has his or her individual go-tos that never fail, but those foods don't always cover the full nutritional spectrum.

My mom made a really yummy mashed sweet potato casserole for Thanksgiving. I am not too fond of sweet potatoes, and I even ate some of this casserole. I think the difference was the vanilla. I don't know. Bottom line, the little boy went bonkers over it. It was from Cooking Light, so it was relatively healthy, but I wanted to up the ante.

Bean goes back and forth on...beans. Heh. He generally likes them, regardless of type, but he has to be in the right mood for them. I don't cook a lot of meat, so I have to try to squeeze protein in where I can. Enter beans.

I decided to make a sweet potato and bean mash up. All I used were sweet potatoes, cannellini beans, brown sugar, and vanilla. You could easily substitute whatever beans you have on hand. I like cannellini because they are a milder, sweeter bean. You could also sub maple syrup or honey in place of the brown sugar. Next time, I think I will try some blackstrap molasses. It's got some good vitamins and minerals in it. I also might add a splash of milk for creaminess since he seemed to like that.

1 lb sweet potatoes
1 can (1 1/2 c) beans, rinsed and drained
2 T brown sugar (or to taste)
1 t vanilla (or to taste)

Peel your sweet potatoes and cut them up into equal sizes. Boil them until fork tender. Once they are done, drain the water and return them to the pot. Add your beans, brown sugar, and vanilla. Mash to desired consistency, but make sure it is well mixed. Serve them warm!


Give 'em to your kiddo to enjoy. My husband likes them, too. This makes 2-3 cups worth, so stick the leftovers in an airtight container and refrigerate. You can try to freeze them, but potatoes can get wonky when thawed. It is super easy to make. I even plan on throwing a spoonful into Bean's lunchtime smoothie. They are sweet enough, but you can put pretty much anything in a smoothie if you add a banana. Actually that reminds me...I don't ever hide things in his food. Whatever it is, I tell him that it's in there. I don't want to deceive him when it comes to food. I want him to see that food can be made in lots of different ways, so he's bond to like one of them.


Monday, November 28, 2011

Jingle Someone!

We recently moved to a different part of the same metro area. Our old neighborhood was, well, very old. It was one of the first "suburbs" built around 80 years ago. It's a mix of older grandparents and young singles and couples with young families peppered in. It's a tight little community, about 6500 in our "city". Even though it is minutes from downtown, it definitely has a small town feel to it. You really do get to know quite a lot of people around the area. So, to my point, last Halloween, "You've Been Booed" went around. If you can't be bothered to click the link, it is a secret gift game. You leave treats and printouts at two houses. They have a couple of days to "boo it forward" so to speak. You aren't supposed to know who booed you, and you need to boo in secret, as well. It was really a lot of fun watching it spread...and, boy, did it spread!

Well, fast forward to now. We're in a much more suburban area. It is actually were I grew up. I am literally a few blocks from my old house and my old elementary school. We've only been here a few months. but our street seems pretty friendly. We know they have an annual block party because it was happening the weekend we moved in. When we took Bean trick-or-treating, everyone was really nice and knew we had just moved in. (Is that friendly, creepy, nosey? Perspective...) Anyway, I wanted to start a "boo", but time got away from me. I was so excited when I found their sister site, "You've been Jingled". I've been waiting a whole month to start this! Gasp!

So, tonight, I ding-dong-ditched two neighbors. I only remember doing this once as a kid. It was to my friend down the block. Her mom marched straight up to my house to tell my parents. Seriously? I mean, I have a kid now. I fully expect this to happen to us. Ok, so I go to an empty door. Is it really worth a trip up the street? I was also made painfully aware of the fact that I really need to start jogging again. Now, I know that I say I try to avoid processed foods. I love making baked treats or candies, but since this is anonymous, I needed something from the store. I went with coca and holiday marshmallows. The two houses I jingled are families. I thought it would be a fun treat to share. Man, I will be severely disappointed if these little elf pictures don't line the street by Christmas.


Why don't you start a "jingle" in your neighborhood or office? Go outside the box. Start a white elephant jingle, a book exchange jingle, whatever strikes your fancy. It's a fun way to spread the holidays around to friends and coworkers.

Saturday, November 26, 2011

Personalizing a Freebie

My husband works in marketing, so companies are always sending free promo items. Without fail, they have their logo plastered across the front. Sometimes, the product is of no use to us or not worth personalizing. Other times, it is great aside from that logo. This hat is one of those items.


I sometimes...ok always have to fight with the little boy to get him to wear a winter hat. Lately, he's been agreeing to this grey one. I really love the style, but I'm not fond of the logo. I decided to change it out. I let Bean pick a new patch. I know this may come as a shock, but my little boy chose a...dump truck!

First, I used my seam ripper to take the old patch off. I actually could have stopped at just a plain hat. The patch was sticky on the back, but it didn't leave any residue on the hat (which I had expected). But part of this project was motivating Bean to wear his winter hat. Having a snazzy dump truck on it works in my favor.


Next, I followed the directions on the patch. Imagine that. I ironed it on. I used an old t-shirt scrap between the iron and the hat. Be careful here because these hats like to stretch. Learn from my mistake, and be sure that you don't stretch it before putting the hot iron on top. It won't shrink back if it gets ironed. Anyway, I followed the directions, ironing front and back. It didn't want to stick totally though. I'm sure it's because of the hat material, not my lack of ironing skill...well, maybe my lack of ironing skill. As a backup, I made a few stitches on the top and bottom with a needle and thread. I found my white thread and, oddly, had a construction yellow colored bobbin.


I am so pleased with the result. Bean loves it, too. Proof is in the pictures! He's got it on! This would be so easy to do on lots of things. For an older kid or an adult, I wouldn't even bother with permanently attaching the patch. I would hot glue a pin back on it instead. Then you can change it out according to outfit, current likes, trends, whatever. DIY and personalizing doesn't have to be hard or require lots of specialized tools. Sometimes, it just takes a 3-year-old refusing to wear his hat.


Tuesday, November 22, 2011

Winter Wreath

The little boy is at school this morning, so I decided to finish a project I started a couple of weeks ago. Like a lot of folks I know, I have a small Pinterest obsession. Around Halloween, I came across an elegant wreath from The Art of Doing Stuff. What I love about this Halloween wreath is that it is the perfect balance of elegant and creepy. I decided to make my own version for winter with white boas and snowflakes.

I didn't want to spend a ton of money, so I went to the dollar store for my two wreaths and snowflake ornaments. I used my husband's employee discount for feather boas from US Toy. You could also use 40% off coupons at a craft store. Joann and Michael's both take competitor coupons. Hobby Lobby always has a printable one on it's website.


2 wreaths to layer together, or one bigger one
6 - 6 ft white feather boas
snowflake ornaments
string
thread
scissors

First, I tied the two wreaths together to make one wreath. The smaller, inner wreath is sort of suspended within the larger, outer one. Alone, they would be too thin for the effect I wanted, but together they are perfect. This only cost me $2, but you could also just start out with a larger styrofoam one from the craft store. Next I started wrapping my boas. I used my white string (not thread)  to attach the end of each boa to the wreath, wrapped, then used another string on the other end. I'm not sure what part of my brain thought that two of these boas would be enough, but it only covered about a third of the wreath. That's why this project sat unfinished for a couple of weeks. You can imagine how long a trip becomes when you take a 3-year-old into a toy store...on top of the obvious chaos, add to it that he knows the store because Daddy works there. Well, I had to wait for a school day to make another trip. Alas, six boas was perfect.


Now to the ornaments. Two things came to mind while working on this part. First, I was reminded that I despise all things sparkle. Sparkles have a way of migrating into EVERYTHING. Just like the pooch nugget's dog hair, I find sparkles in places that haven't been touched for years. My worst nightmare is opening a card to find it covered in sparkles. The real dilemma will be when Bean starts coming home with sparkle covered art projects, but I digress. The second, and more important point, 3D ornaments! Mine were flat, and although they worked, I would have been more pleased with 3D snowflakes.

So once I arranged the ornaments in a manor that suited me, I tied them on with thread. Somehow I didn't have white, but cream worked just fine. The feathers have so much poof, that you really can't notice. Last, I tied one more piece of string (not thread) to the inner wreath. That way you don't see the loop as it hangs on the door.


As you can see, the snowflakes aren't very noticeable. Even standing in front of it, they don't stand out all that much. Maybe next year I will change them out. It works for now. My front door has a welcoming wreath with a wintery feel. That was my goal.

Now I'm off to vacuum flyaway feathers and...sigh...sparkles.