Sunday, December 18, 2011

PBCC Breakfast Muffins

Einstein and Beethoven can step aside...the greatest creator was he (or she) who combined peanut butter and chocolate. Had these two entities, each glorious in their own right, not been brought together, we can be sure that the world would have crumbled, descended into utter chaos. We are forever grateful to you, oh combiner of peanut butter and chocolate, for making the world a sweeter place.

Today, I bring you a peanut butter chocolate chip breakfast muffin recipe. It is a slight adaptation of Weelicious's Breakfast Cupcakes. I took a delish and healthy recipe and made it something I could enjoy any time of day (or night). The recipe is great in original form, but I wanted something without "frosting". I found that the cupcake alone was a little bland. What to do, what to do...Chocolate Chips to the rescue! Actually, I didn't have to think at all. The first time I read over this little puppy, I wanted to add chocolate chips. Without the "frosting", I had my excuse.

So here is my version. I actually doubled the recipe for the photos. I was making an extra batch to share. The recipe below is for one batch, 12 regular sized muffins or 24 minis.

PBCC Breakfast Muffins
1 1/4 cup all purpose flour
2 tsp baking powder
1/2 tsp salt
1/2 cup chocolate chips
1/4 cup peanut butter (or sub another creamy nut butter of your choice)
1 egg
2 Tbsp sugar
1 1/4 cup milk (I used 1% cow's, but you can sub)

Preheat your oven to 350 degrees.

In a large bowl, mix together your dry ingredients...flour, baking powder, salt, and chocolate chips.


In a separate bowl, whisk the peanut butter, egg, and sugar until well combined. It will be wonky at first, but keep at it. They will emulsify. (Ignore the cinnamon and vanilla in the picture below. I was whipping up a whole slew of peanut butter based treats this morning, so they were for something else.)


Once that is well combined, whisk the milk into the peanut butter mixture. Make sure to scrape the sides of your bowl. You want all that peanut buttery goodness in your muffins. Plus, it's less to wash off the side of the bowl later.


Once your milk has been well incorporated, you will add the wet to the dry. There is a lot of debate over the wet-to-dry or dry-to-wet order. The general consensus seems to be that wet into dry causes less clumping. I don't know, I get them either way. Anyway, mix everything up, but don't over mix. This is a pancake batter based muffin, so it doesn't need to be perfectly smooth.


Now since I was making two batches, I made one regular sized muffins and one minis. No matter what size you are using, you will want to spray your muffin tins well. Typically, recipes tell you to fill the cups 2/3 full. HA! Fill them 3/4, or even slightly more, and you will get better muffin tops...on the muffin intself and on your pants from eating a bigger muffin! Ba-da-bum-ching!


Set your timer for 20 minutes. Both sizes took the same amount of time to cook although it's not a bad idea to keep an eye on things. I've made these a bunch of times, and they never really get golden on top. They shouldn't be shiny or wet looking, and you can always stick a toothpick in the middle to check for doneness.


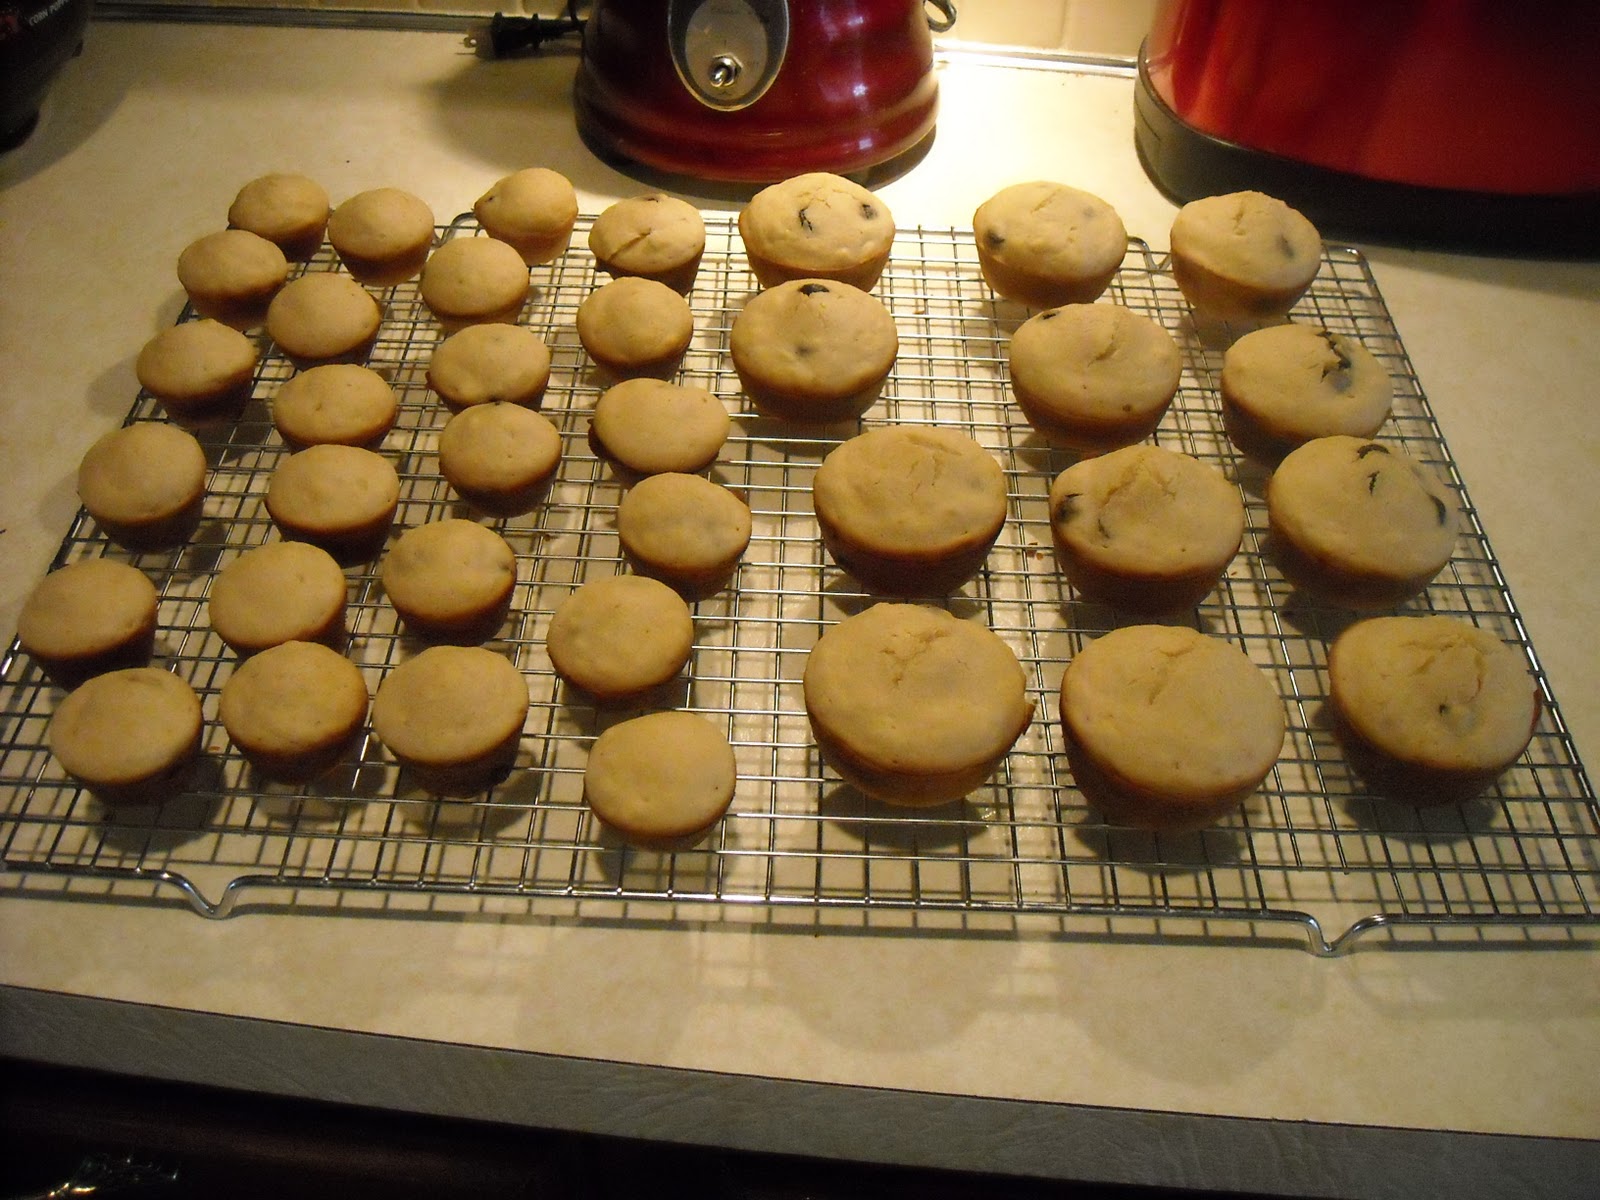
After you remove them from the oven, let them cool in their pan for a few minutes, until you can handle them. Remove them from the tin, and cool on a wire rack.


These will keep several days in an airtight container, or you can individually wrap them to get a little extra time. Seriously though, between my love of pbcc, my husband's insane metabolism, and a picky-ish 3 year old, these never last more than a couple of days in my house. Enjoy!


Tuesday, December 13, 2011

Removing Labels from Glass Jars

I keep an eye out on Craigslist for mason jars, but they get snatched up before I can get to them. Since I'm not going to spend money on new ones, I have started hanging on to our empty food jars. I don't use all of them. Sometimes I don't care for the size/shape, or I am too lazy to really scrub the food bits off. I had amassed a few, so I decided it was time to actually do something with them.

I started with a variety of jars, some honey, brown rice syrup, jelly, salsa, even an empty extract bottle.


I tried two different methods for stripping the labels. One was boiling, soapy water. The other, straight vinegar in a bucket. I had heard of vinegar, and the soapy water one came from Mochatini via Pinterest. I tried a couple of different tools to scrape the labels off, but ultimately decided on a small putty knife. It worked best for both methods.

The vinegar was not my favorite method. It takes a good amount to immerse the entire label. It is wasteful, smelly, and not that successful. Plus, it takes a lot longer. I had to let it sit for several hours before I could scrape the labels off. It also seemed to work better on one label than the other. The small, brown bottle below scraped right off. The other bottle left residue behind. I  had to use a little more elbow grease to scrape it and some Goo Gone.


The boiling water went much faster, and I got better results. I recommend this method. Fill a large pot with water and a drop of soap. Let it come to a rolling boil. Gently add your glass. Wait...I know how hard it is. Trust me though, jumping the gun will only frustrate you. So wait. Once the labels start to just float off on their own, you can get to work. They should come right off with almost no effort. Just remember you are working with boiling water, so everything is H-O-T HOT! If you do happen to have any residue left, a little Goo Gone does the trick.


One more thing, don't remove the labels before hand. I know it is tempting to strip things down in the hopes of a faster result or easier effort. Sadly, it doesn't work out that way. I had peeled the label off of one jar (the first pic below). It came out of the pot about like it went in. It took a lot of scraping and Goo Gone to get all the gunk off. On the other hand, all of the jars that went in with the full label intact practically cleaned themselves (the second pic below). Like I said, the labels start to float right off on their own.


 Have fun making lots of fun things from your shiny new craft bottles! They make cute vases, storage jars for other foods or crafts, gift jars, the list is endless!

Saturday, December 3, 2011

Smashed Sweet Potatoes and Beans

Toddlers are notoriously picky, flip-floppers. One day apples are their favorite food, two days later, they hate apples with such passion. Sure, each kid has his or her individual go-tos that never fail, but those foods don't always cover the full nutritional spectrum.

My mom made a really yummy mashed sweet potato casserole for Thanksgiving. I am not too fond of sweet potatoes, and I even ate some of this casserole. I think the difference was the vanilla. I don't know. Bottom line, the little boy went bonkers over it. It was from Cooking Light, so it was relatively healthy, but I wanted to up the ante.

Bean goes back and forth on...beans. Heh. He generally likes them, regardless of type, but he has to be in the right mood for them. I don't cook a lot of meat, so I have to try to squeeze protein in where I can. Enter beans.

I decided to make a sweet potato and bean mash up. All I used were sweet potatoes, cannellini beans, brown sugar, and vanilla. You could easily substitute whatever beans you have on hand. I like cannellini because they are a milder, sweeter bean. You could also sub maple syrup or honey in place of the brown sugar. Next time, I think I will try some blackstrap molasses. It's got some good vitamins and minerals in it. I also might add a splash of milk for creaminess since he seemed to like that.

1 lb sweet potatoes
1 can (1 1/2 c) beans, rinsed and drained
2 T brown sugar (or to taste)
1 t vanilla (or to taste)

Peel your sweet potatoes and cut them up into equal sizes. Boil them until fork tender. Once they are done, drain the water and return them to the pot. Add your beans, brown sugar, and vanilla. Mash to desired consistency, but make sure it is well mixed. Serve them warm!


Give 'em to your kiddo to enjoy. My husband likes them, too. This makes 2-3 cups worth, so stick the leftovers in an airtight container and refrigerate. You can try to freeze them, but potatoes can get wonky when thawed. It is super easy to make. I even plan on throwing a spoonful into Bean's lunchtime smoothie. They are sweet enough, but you can put pretty much anything in a smoothie if you add a banana. Actually that reminds me...I don't ever hide things in his food. Whatever it is, I tell him that it's in there. I don't want to deceive him when it comes to food. I want him to see that food can be made in lots of different ways, so he's bond to like one of them.